Friday, June 13, 2014

How I prepare for a big event!

Now I have my 18th birthday dinner tomorrow and I really wanted to pretty myself up and pamper myself for it! So I thought I'd share with you guy how I get ready for an event! 


The first thing I did and I couldn't really take photos of was get a spray tan. The night before I exfoliated my skin to get rid of dead skin and make sure my skin was smooth for the tan. I made sure I got this I'm the morning. I left it on for 4-5 hours and then rinsed it off! While it the shower I also washed my hair. 

I then do my nails, and I usually give myself a mini manicure. 
I first start out by filing my nails and buffing them! 

I then work on my cuticles, pushing them back and trimming them. I then apply my cuticle oil. 


Before you paint them you want to take some nail polish remover and wipe it over your nails to remove oil and dirt, this will prolong the nail polish.


Don't ask me the color of this nail polish cause I honestly don't know, it was just one of those random ones in my drawer, but I thought this is the best color to suit my outfit. 
Remember to apply a base coat to prevent staining. 


 I looove giving myself a nice facial before an event. I start off with cleansing and exfoliating. The pore refiner in this photo I use later on. 


I then apply a mask! This brand makes amazing masks and I love them all and can never choose which full size one to buy so I always grab a bunch of all of them in sample sizes. 


I will now spray my toner to refresh my face. Then apply my pore refiner and some moisturizer


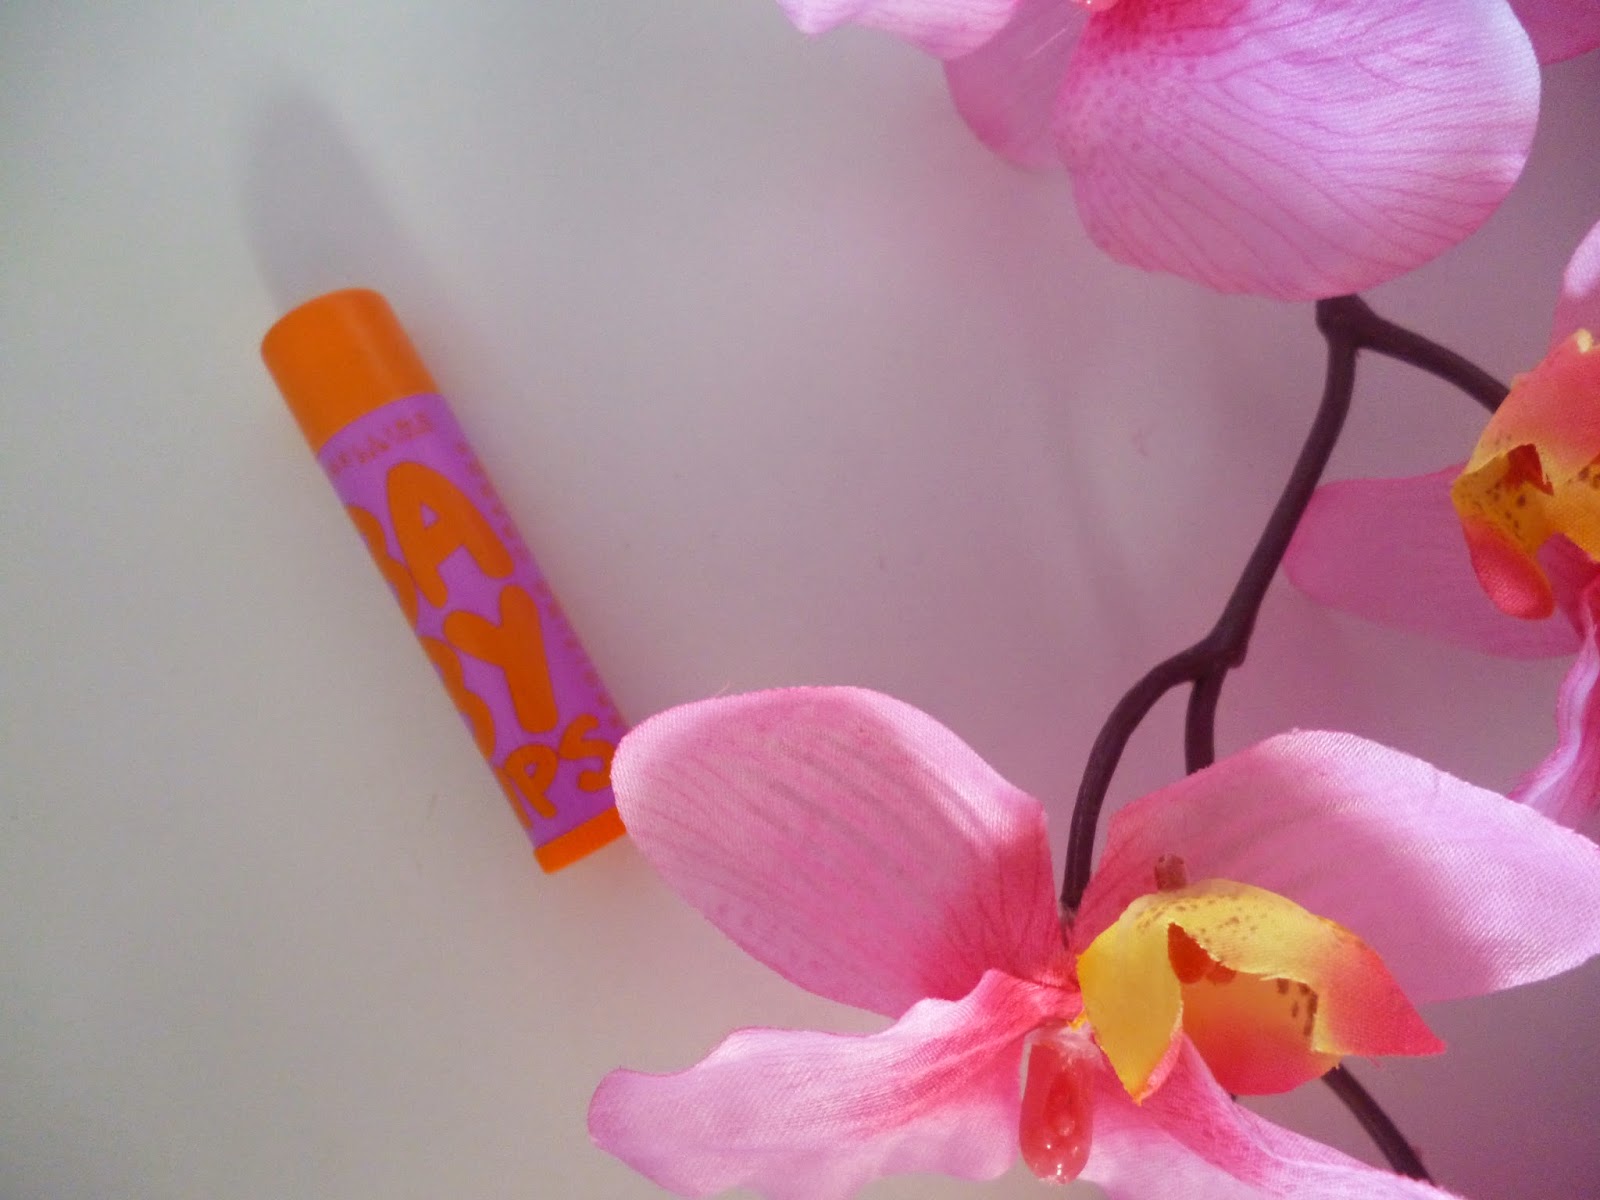
My next step is applying some lip balm! 


Now time for brows, which the way I groom them is pretty simple.
I firstly brush all the hairs up and trim them, being sure your are careful not to cut a giant chunk out. 
I then brush them back into place when I am happy and pluck stray hairs and shape them up! 


I also like to each some chocolate while I'm pampering myself 


Or watch some Shaaanxo


Or play Bubble Witch...


And even read a book


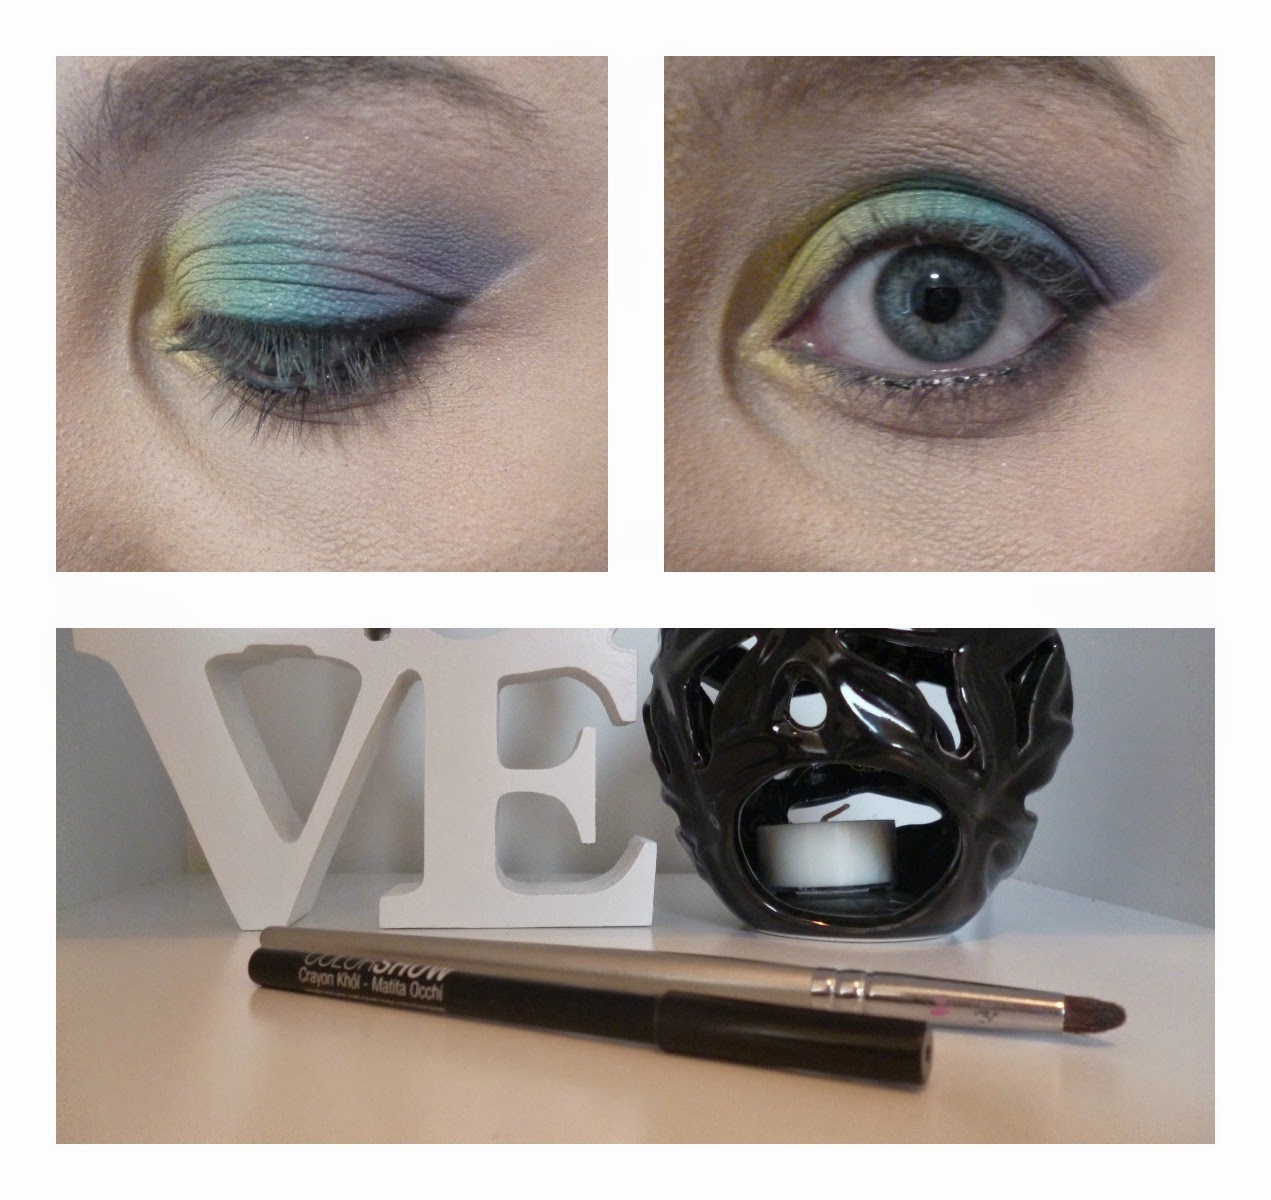
I would then go on to doing my hair and makeup and getting dressed! 
But! I will be showing you all that in my post on Monday which will be my hair, makeup and outfit post! 
Keep an eye out for that! 

Keep connected
Instagram: @aprilleebeauty


Tuesday, June 10, 2014

Birthday Blog Post


While I'm writing this it's 10:58am and I've just been woken up by my boyfriend and I've had a shower and any minute now my boyfriend will be making me crossants! 
My belt I'm wearing for my birthday dinner also arrived in the mail! Yay! 

I've had so so many birthday wishes from all of you on Instagram and it means so much! Also a lot of birthday wishes from my family but the best of them all was a video of my two little sisters singing me Happy Birthday. 

So me and Kyam are about to sit down with our breakfast and iced coffee and watch some Merlin! 

So it's 3:11pm now and I've just woken up from a nap, all those crossants and chips with sauce buggered me out OH! and playing too much Bubble Witch I'll be getting ready soon before I go out with my mum and brother John for CAKE! 
Before then though my boyfriend will be making me Butter Chicken for dinner!


For his first attempt I think he did amazingly! 

It's 7:18pm and we have just ordered our cake and drinks! This place is amazing! If you are a local I deffiantly recommend


How amazing does it look! I ordered the Death By Chocolate and an Iced Coffee! It's was absolutely amazing! 


My day turned out really great, honestly one of the best birthdays I've had! I will be celebrating it with more family and friends on Saturday when I got out for dinner which I will be doing a Makeup and outfit post on that that should be up on Monday! 
So it's 9:37 now and I'm ready to go to sleep! Hope you liked this post, it was a little different. Sort of like a Follow me around blog post style! 

Until next time!
Stay connected: 
Instagram: @aprilleebeauty

Thursday, June 5, 2014

Skincare Essentials


Today's post is all about the basics of skincare/ skincare essentials. I have just recently completed studying skincare, so if you have any further questions after this post let me know.
I'll first start out by saying is you don't need to fork out a lot of money to get some good quality skin care. 
Let's begin.

Cleaning your face
Cleaning your face is one of the most important if not the most important part of your skincare routine and you should do this everyday. Cleaning or cleansing your face doesn't just get off your make-up it washes of build up and excess oils.
The first and most convenient way to 'wash' it off is the good old cleansing wipes.
  Cleansing wipes are the easiest way to clean off your makeup, whip one out and wipe away. Although you have to remember these won't remove everything! Which leads me onto the topic of Cleansers.
Cleansers will work to get off everything that the cleansing wipes missed, meaning left over makeup and excess oils. Cleansers are a bit more time consuming but it's quick once you get the hang of it. Put some in your hands, add water, lather it up and massage into your face. If that's too much, there are ones you places a few drops on a cotton round and wipe away!

 Now you might be thinking 'These remove the dirt and oils! What about my rough skin?'
So I'll move on to Exfoliators!


Exfoliation
Exfoliation is only needed 1-3 times a week. Too much exfoliation or using an exfoliator that's too harsh will damage your skin. 
There are two types of exfoliants, Physical and Chemical. 
Physical is the most common, they are the grainy one to have to rub into your face and that's where they get their name. Chemical on the other hand works by itself. This may sound scarey at first, but these are actually suited for sensitive skins because it doesn't include harsh rubbing on your skin.
 Now your skin might be feeling a bit dry and tight? Which leads me on to Hydration!
 
 
Hydration
Hydrating your skin is also another important part of your skincare routine. You can find moisture from Masques especially formulated to  boost hydration and freshen up your skin which are my personal favorites. You should only be doing a masque 1-3 times a week. 
Apply a good layer, leave it on for the required time and wipe off and your skin is feeling refreshed. 
Which then leads me onto Spray Toners, I won't go into much detail about these. But they are an awesome way to freshen up your skin throughout the day.
But the most important way of hydration is finding an amazing moisturizer. I also won't go into much detail about moisturizers because I'm sure everyone already knows what is it.
But be sure you choose one suited to your skin type, if you have normal to oily skin DO NOT use one that is formulated for Dry to Very Dry skins. 
Another thing you need to moisturize is your lips! Applying lip balm and treatments are super important to maintain soft lips! 
 
Okay maybe you don't need a lot of moisture and want to focus on reducing some of that oil? 


Mattify
Along with hydration masque there are a ones suited for drawing out that moisture in your skin, for example mud or clay masks. Also again with these apply them 1-3 times a week.
You can also get toner that will actually dry up your skin, although you apply drop of this to a cotton round and apply all over your face. The alcohol in these products will dry up your skin so don't use these if your have very dry skin.


 What about that eye area?
Keep good care of your eye and eye area! This is so important because this area is so delicate!
I will firstly say to get a cleanser/ makeup remover specifically for your eyes. Do not go placing any sort of cleanser to remove your mascara, because that can irritate your eyes.
Also when you are removing makeup around and on your eyes be very gentle, the skin is as thin as paper and damaging that area can cause pre mature aging.
Which leads me onto eye cream, these are also important to stop the skin around your eyes from pre mature aging. They also help reduce puffiness too.
My personal favorite are tinted/ brightening ones which counteract your undereye circles and make you look more awake.

 
 Water and Healthy Diet
Drinking plenty of water and eating a healthy diet is so important to achieve amazing skin. I think a lot of people forget that it's not all external factors, but it's also internal too.
Smoking, a bad diet and drugs will only effect your skin in a bad way.  Along with external factors like pollution and THE SUN which lead me on to say you should be wearing sunscreen everyday or making sure your foundation or moisturize includes SPF


And that concludes my Skincare Basics/ Skincare Essentials!
I really hope I have helped you and that you have learned something new reading this post. If you have any questions do not hesitate to contact me though email on aprillee.reimann@hotmail.com

Keep Connected:
Instagram: @aprilleebeautyx


Tuesday, June 3, 2014

Bridal Makeup


Welcome back!
The last few makeup looks I have done have been quite out there and heavy on makeup, so I thought I would tone it down and go with a soft brown bridal makeup.
Now this can either be worn by the bride or bridesmaids OR even going as guest. 
I really like the way it turned out and I hope you do to! 


For a wedding I think it's very important for the bride to have perfect glowing skin.
To achieve this look I firstly applied my MAC Strobe Cream before applying foundation which was the Stilla Stay All Day foundation. I then concealed under my eyes and highlighted with my MAC Prolongwear concealer in NC15 I then set that with my e.l.f under eye setting powder. 
I then set my whole foundation with my Australis Fresh and Flawless pressed powder.
I then slightly contoured with my Hoola bronzer, and highlighted with my MAC Soft and Gentle
For blush I mixed my e.l.f blush in Innocence and e.l.f studio blush in Twinkle Pink.
I then filled in my brows with the essence eyebrow kit.


 My first step for the eyes was applying NYX Jumbo eye pencil in Iced Mocha over the out third of the lid and blending it with my finger, building up the color till I was happy with the result. I slightly blended that into the rest of the lid. I also ran that under my bottom lash line.
I then went in with this gorgeous metallic essence eyeshadow in 'party all night' and patted that over the color I just put on. 
I then applied e.l.f mineral shadow in 'Sassy' over the outer half of the lid and blending that slightly out towards the inner corner.


Next I took e.l.f pigment eyeshadow in 'Nearly Nude' and smudged that over my lash line and into my outer corner. I then ran that under my bottom lash line.
I then tight lined my top and bottom lash line with my Bloom eyeliner in 'Dark Brown'
I then applied my They're Real Mascara.


For the lip I applied my Chi Chi lipstick in Bombshell and over the top my e.l.f matte lip color in Tea Rose. I then outlined my lip with my Essence lip liner in the shade 'In the nude'

And here is the finished look! The dress I am wearing is what I am wearing to my birthday next week which I will have a post on my outfit and makeup, so keep an eye out for that. 

Again, I hope you like the look and I will see you in my next post.

Keep Connected:
Instagram: @aprilleebeautyx


Sunday, June 1, 2014

Makeup for Beginners - Face


Starting out with makeup can be pretty difficult if you don't understand what you're doing. 
When I started out with makeup I learned from watching my mum apply hers in the morning, it was standard really, foundation, mascara and eyeliner. Then doing it myself I learned there was a lot more to putting some stuff on my face. 

This with be in a series and today's post is about face products!

Tinted Moisturizers and BB Creams 
Usually when you start out with makeup you're young and already have beautiful clear skin so you don't want to immediately go and buy some full coverage foundation, because you don't need that.
What I would recommend going for a tinted moisturizer or BB cream. These give you just enough coverage to even out your skin tone and give a healthy glow.

The first one we have is the Dermalogica Sheer Tint Redness Relief 40ml. This products retails for $44.80AUD which is on the pricier side of things. What's great about this products is it's green, yes green! The color of this product is going to counteract the redness in your skin. Although you may have to apply a bb cream over the top of this so your skin isn't tinted green. You can find drugstore versions of this which are usually called CC creams. 

Next one is the Nude by Nature BB cream, this retails for $19.95AU. I have tested this one out personally and I think it's more on the higher coverage end of the BB creams. Which is great if you are wanted a little bit more coverage then the rest but still don't want to go with a foundation. 

Next up we have the Rimmel BB Cream which retails for around $10AUD. I haven't tried this one out myself but I have heard a lot of great reviews on this.

Now there is the Garnier BB Cream  which retails for $13.95AUD. This was the very first BB cream I ever tried out. I tended to use this in summer as it wasn't heavy on my skin and gave me the perfect amount of coverage.

Next is Laura Mercier tinted moisturizer which retails for $59AUD. Again this is another high end product. This one also tends to give a lot more coverage and also a youthful dewy complexion. 

Another great thing about these products is they all have SPF in them which will protect you're skin.


Powder
Now if you aren't for liquid face products you could always use powder products!

You don't just have to wear these on their own, you can defiantly wear these over the top of your tinted moisturizer or BB cream to set them in place.
Either way they all provide a great amount of coverage to even out your skin tone.
Maybelline Dream Matte Powder $9.50AUD
Rimmel Stay Matte Powder $9.95AUD
Loreal True Match Powder $29.95AUD
My personal favorite Australis Fresh and Flawless Pressed Powder $11.40AUD


Concealers
When I first started out with makeup concealer was what I used to use. Although my mistake was not finding one to match my skin tone correctly. This is important because all I used this for was to place over blemishes to conceal them so they weren't as noticeable. But by placing one that is too light or to dark over it actually emphasized it. So make sure if you are wanting to buy a concealer for this reason make sure you get your correct color.
 The first two I use personally and I absolutely love.
Maybelline Fit Me Concealer $14.95AUD
Rimmel Wake Me Up concealer $14.95AUD
 Bourjois Concealer Stick $20AUD
Maybelline SuperStay 24HR Concealer $14.95AUD

In conclusion
You're skin doesn't need a lot of makeup and coverage if you already have beautiful skin, but do what makes you comfortable and wear what you like on your skin to make you feel comfortable.
 

I hoped this has helped you out there if you are just starting makeup and panicking not knowing what you should pick! 
My next post for this series will be cheeks, meaning contouring, blushers and highlighters. 
Please if you have anyone questions feel free to contact me and again I hope this helped you out.
Thank you.

Keep connected with me
Instagram: @aprilleebeautyx


Thursday, May 29, 2014

Shaaanxo Rainbow Inspired Makeup Look!

Welcome back to my blog! Today I've got a Rainbow makeup tutorial inspired by the look Shaaanxo did in one of her recent videos. 
For this look she had quite a big wing which I didn't do because for one I'm not the best at winged eyeliner and I though a smaller one suited me better. 
Also, I didn't have the Urban Decay palette she used so I created this look with my e.l.f cosmetics 144 eye shadow palette which I might do a review on. 

So lets get into it.
First
My first step was applying my Laura Mercier Silk Creme Foundation and my MAC prolong wear concealer to high light and then just setting that in place with my elf under eye setting powder and Rimmel stay matter transparent powder.
I also contoured with Hoola, Highlighted with MAC soft and gentle and applied e.l.f studio blush in Peachy Keen.


Second Step
I then put sticky tape at the edge of my eyes so when I applied my shadows it would give them a good shape. I then applied NYX jumbo eye pencil in Milk all over the lid so when I apply the shadows they show up extra vibrant. I then grabbed a clean fluffy brush and blended a small amount of Buck from the Naked 1 palette into my crease.

The Palette
This was the palette I used for the look, I am very impressed with this palette but not impressed with how the colors showed up on camera.

Third Step
I then mixed a lime green and a yellow and applied that with a small flat shader brush on the inner third of my eye, inner corner and the inner bottom lash line. Not going above the crease. I packed on the color until I got my desired result.
The colors in the pan didn't show up close to what they actually are!

Fourth Step
I then went in with a electric blue on a large flat shader brush and applied that directly to the middle of my lid not going above the crease. I also packed on this color for desired result. 

Fifth Step
Then with another large shader brush I applied a bright and dark purple to the outer third of my lid. I then slightly blended that through my crease. Also packing on this color for desire result. 

Sixth Step
I then removed the sticky tape. 
Taking the small shader brush taking that color again I blended the lime green and blue together. Then taking the blue on the brush we used and blend the blue into the purple. 
Really take your time blending these together.
After that I took Buck again and blended that onto my bottom lash line.

 Seventh Step
 
Then taking my Maybelline eyeliner I tight lined my top and bottom lash line and smudged out the bottom with my dome smudger brush. Then taking Creep from the Naked 1 palette I applied that to my top lash line with an angled brush and created a small wing.

Step number 8!
Then I applied my Benefit They're Real Mascara and Lashes from Daiso. I previewed these lashes in my last tutorial.


Step 9

For my lips I applied my MUA lipstick in Juicy and then my NYX buttergloss in Eclair.


Here's the final look!
You can defiantly do what she done and do a more dramatic wing. But I preferred a smaller one on myself, completely up to you.


I really hope you enjoyed my recreation of Shaanxo's rainbow makeup tutorial. If you have also recreated this let me know because I'd love to check it out.
Also please leave me any requested looks.

Stay Connected!
Instagram: @aprilleebeautyx