

Hello everyone! Welcome back to my blog. As the title says this is my May Favorites!
A quick note that I have set myself up a little back ground for my pictures, tell me what you think?
Let's get into it.
My first favorite is the Garnier Moisture Match Ultra Rich Hydrating Cream 50ml.
This moisturizer is very thick, and I would advise you to defiantly stay away from this if you have oily skin.
As it states it's for dry to very dry skin, so as I am very dry on my nose and chin this is the only place I will wear this.
Also, it smells divine!
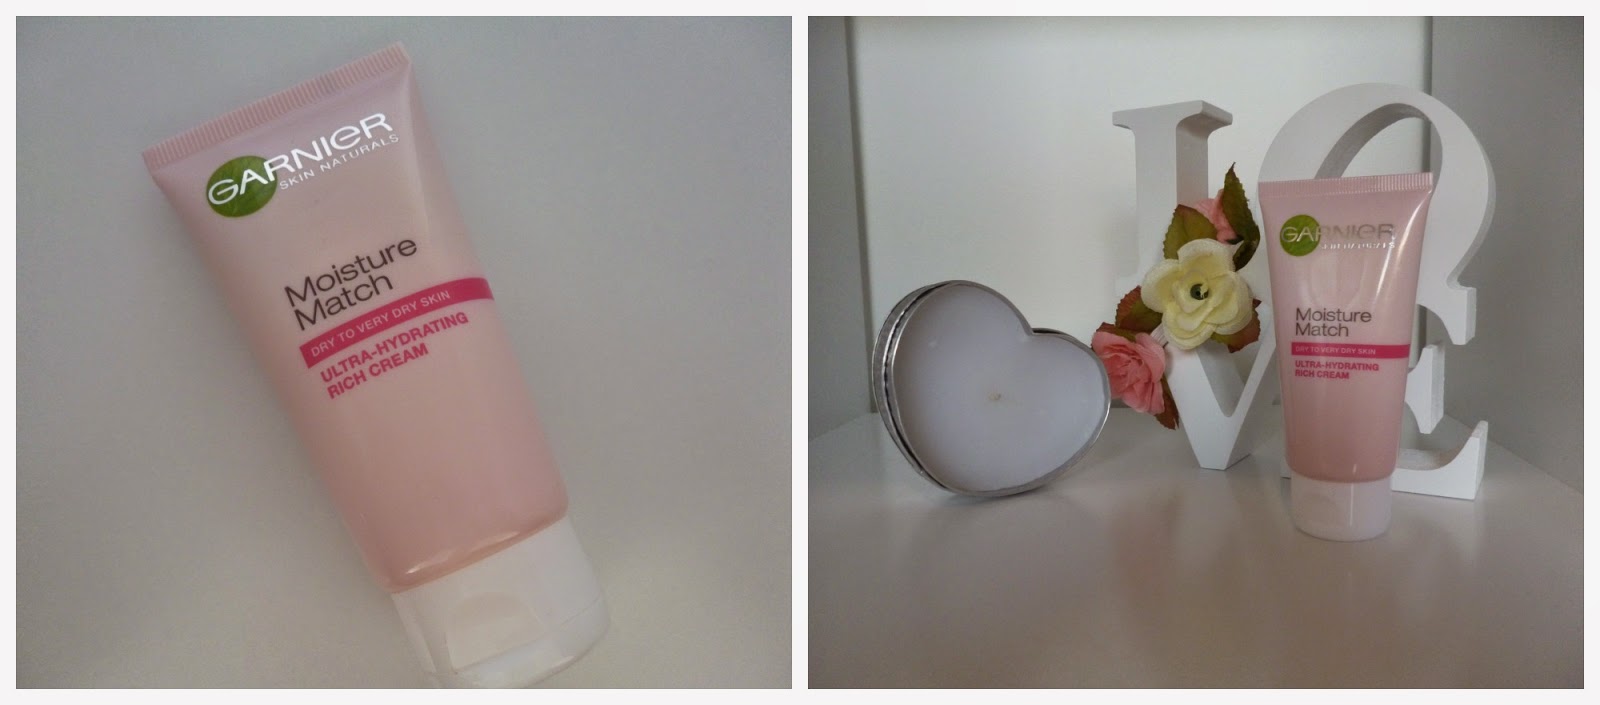 You can purchase this from Priceline for $9.99AUD click photo for link.
Let's get into it.
My first favorite is the Garnier Moisture Match Ultra Rich Hydrating Cream 50ml.
This moisturizer is very thick, and I would advise you to defiantly stay away from this if you have oily skin.
As it states it's for dry to very dry skin, so as I am very dry on my nose and chin this is the only place I will wear this.
Also, it smells divine!
Next up we have e.l.f cosmetics baked blush in Peachy Cheeky.
This is the perfect everyday blush!
It applies very lightly but easily built up, what I also love is it's very highlighting and can usually skip using a highlighter when wearing this blush.
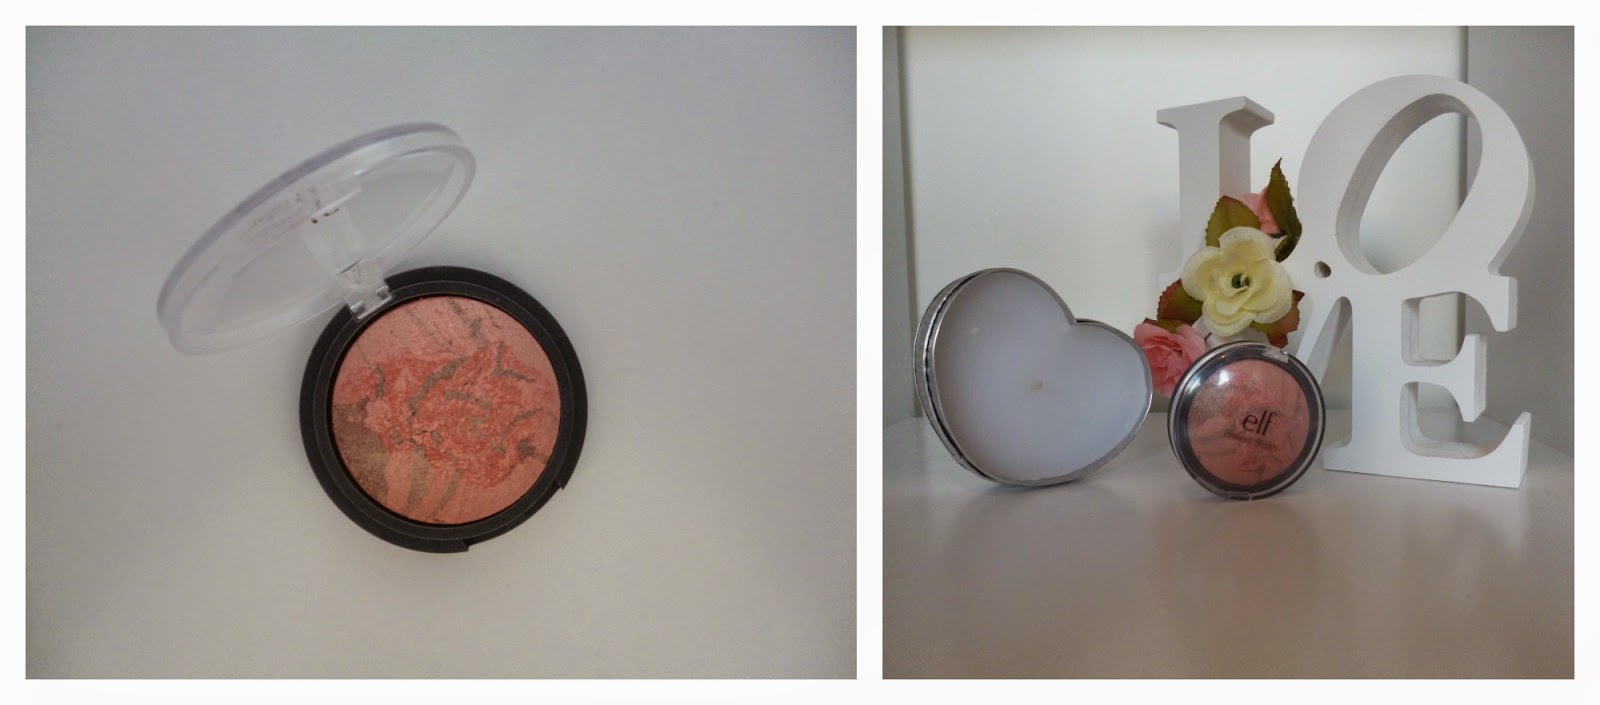
You can purchase this from Iherb.com for $3.25AUD click photo for link
My next favorite is the Benefit Hello Flawless Liquid Foundation 30ml
I have very pale skin so I usually opt for the lightest shade which was "Ivory, I'm pure 4 sure"
Although I do with it could have been the tiniest bit lighter to match me perfect it's nothing I can't work with.
I apply this with my Real Techniques sponge and usually only need 1 pump for my whole face and half a pump more if I'm wanting a little bit more coverage.
Overall it's a great foundation.

You can purchase this from Myer for $55AUD click on photo for link
This one is the e.l.f cosmetics single pressed shadow in Oatmeal.
I love wearing this shadow either all over the lid for a very natural look with it blended through the crease.
It's very pigmented and creamy and I'll defiantly be picking up more pressed eye shadows from e.l.f

You can purchase this from Iherb.com for $3.25AUD click photo for link.
Next favorite is the MAC Cosmetics Prolong Wear Concealer in NC15 9ml.
After a long time deciding if I should buy this concealer or not I decided 'Why not?' when MAC had free shipping a few weeks back.
I absolutely love this concealer, as I mentioned before I am very pale and this is the perfect concealer for me!
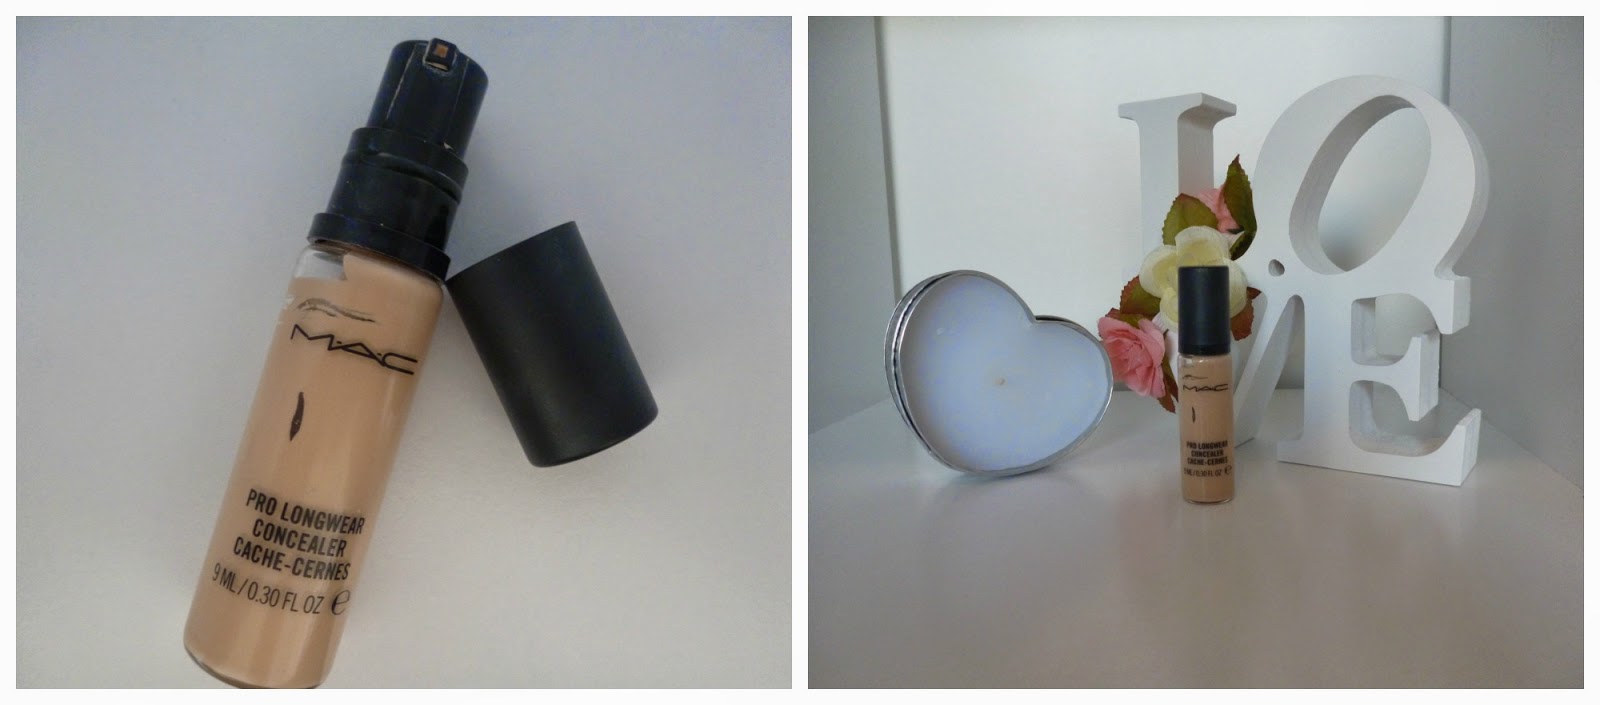
You can purchase this from the maccosmetics.com.au for $32AUD click on photo for link
This is my favorite lip combo! It's my e.l.f cosmetics matte lip color in Nearly Nude and my NYX butter gloss in Creme Brulee
I mostly wear nudes and this combination is what I've been wearing mostly everyday. They are both super simple to apply and it just looks amazing and natural.
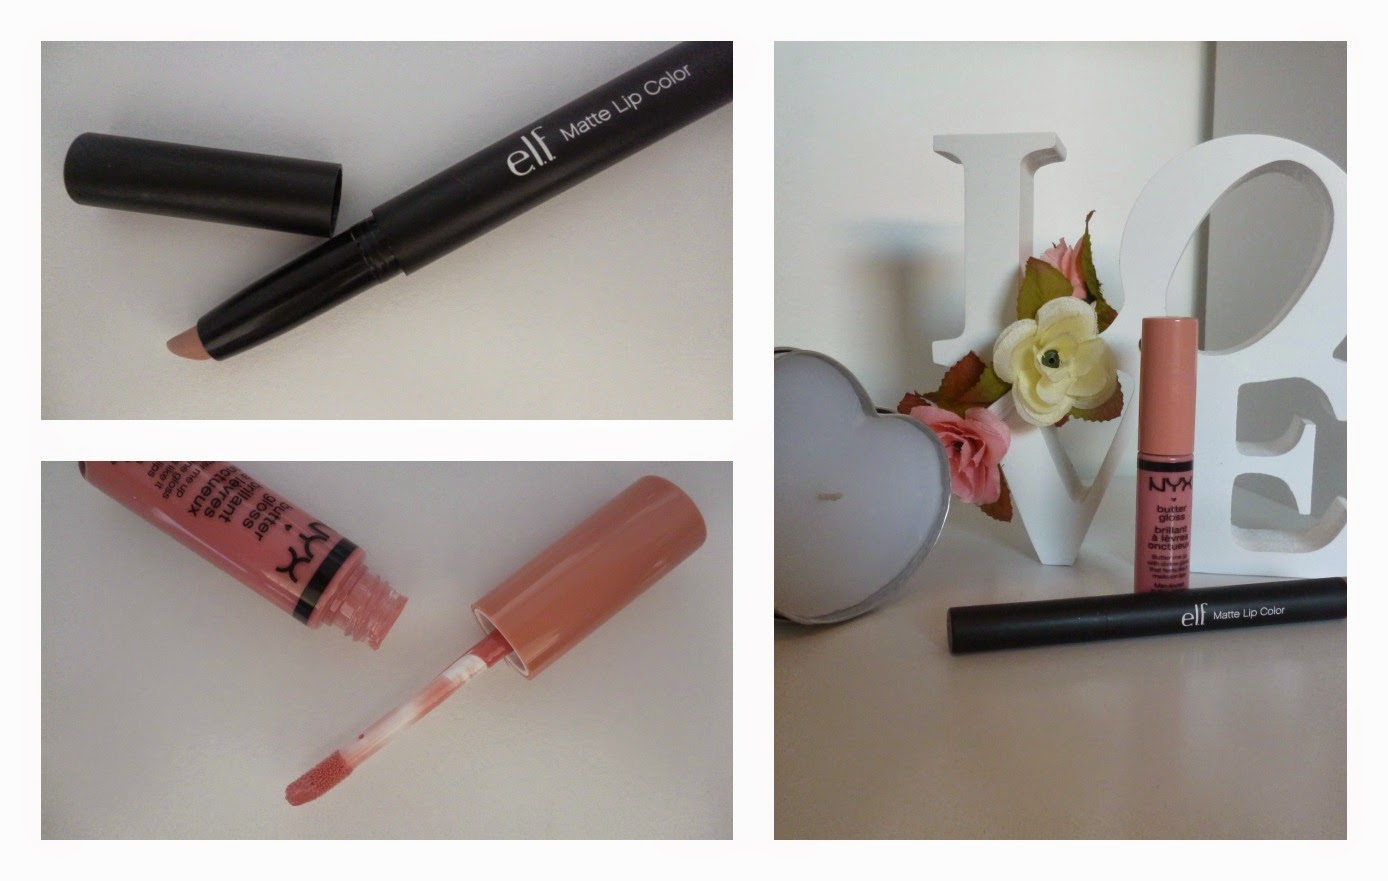
You can purchase the e.l.f matte lip cream for $3.25AUD by clicking Here! or click the photo for the NYX buttergloss which is $9.95AUD
Next up is another newish buy and it's the cult favorite, Benefit They're Real Mascara!
I've never used a mascara like this before, the way it separates the lashes and gives them length is amazing. I wouldn't say it give the most volume but it keeps the lashes looking so natural, just emphasized

You can purchase this from Myer for $38AUD click the photo for link
Last but not least we have the Rimmel Stay Matte Powder in Transparent
This is amazing for setting your foundation especially if you aren't looking for anymore coverage.
I also like to use this under my eyes to set my concealer.
I also like to use this under my eyes to set my concealer.

You can purchase this from Priceline for $12.95AUD click on photo for link
I hope you liked my May favorites! Are any of these your favorites?
Please leave me any requested posts you want to see.
Keep connected with me
Instagram: @aprilleebeautyx


